Grafana
Steps and required credentials to connect Grafana to Squadbase
Required Information
| Field | Description |
|---|---|
| Grafana URL | The base URL of your Grafana instance (e.g., https://your-org.grafana.net). |
| Grafana API Key | A Grafana API Key or Service Account Token used to authenticate requests. |
How to Obtain
Grafana URL
- Grafana Cloud: Your instance URL is shown in the Grafana Cloud Portal. It typically follows the format
https://your-org.grafana.net. - Self-hosted: The URL where your Grafana instance is running. This is typically the hostname or IP address of your server, with the port Grafana is listening on (default:
3000). For example:http://localhost:3000(local)http://192.168.1.100:3000(internal network)https://grafana.example.com(with a reverse proxy and domain)
Grafana API Key (Service Account Token)
The recommended way to create an API key in Grafana is via Service Accounts.
Open Service Accounts
Log in to your Grafana instance and go to Administration → Users and access → Service Accounts.
- Grafana Cloud: Log in at grafana.com and open your instance.
- Self-hosted: Log in at your own Grafana URL (e.g.,
http://your-server:3000). Administration appears at the bottom of the left sidebar for users with admin privileges.
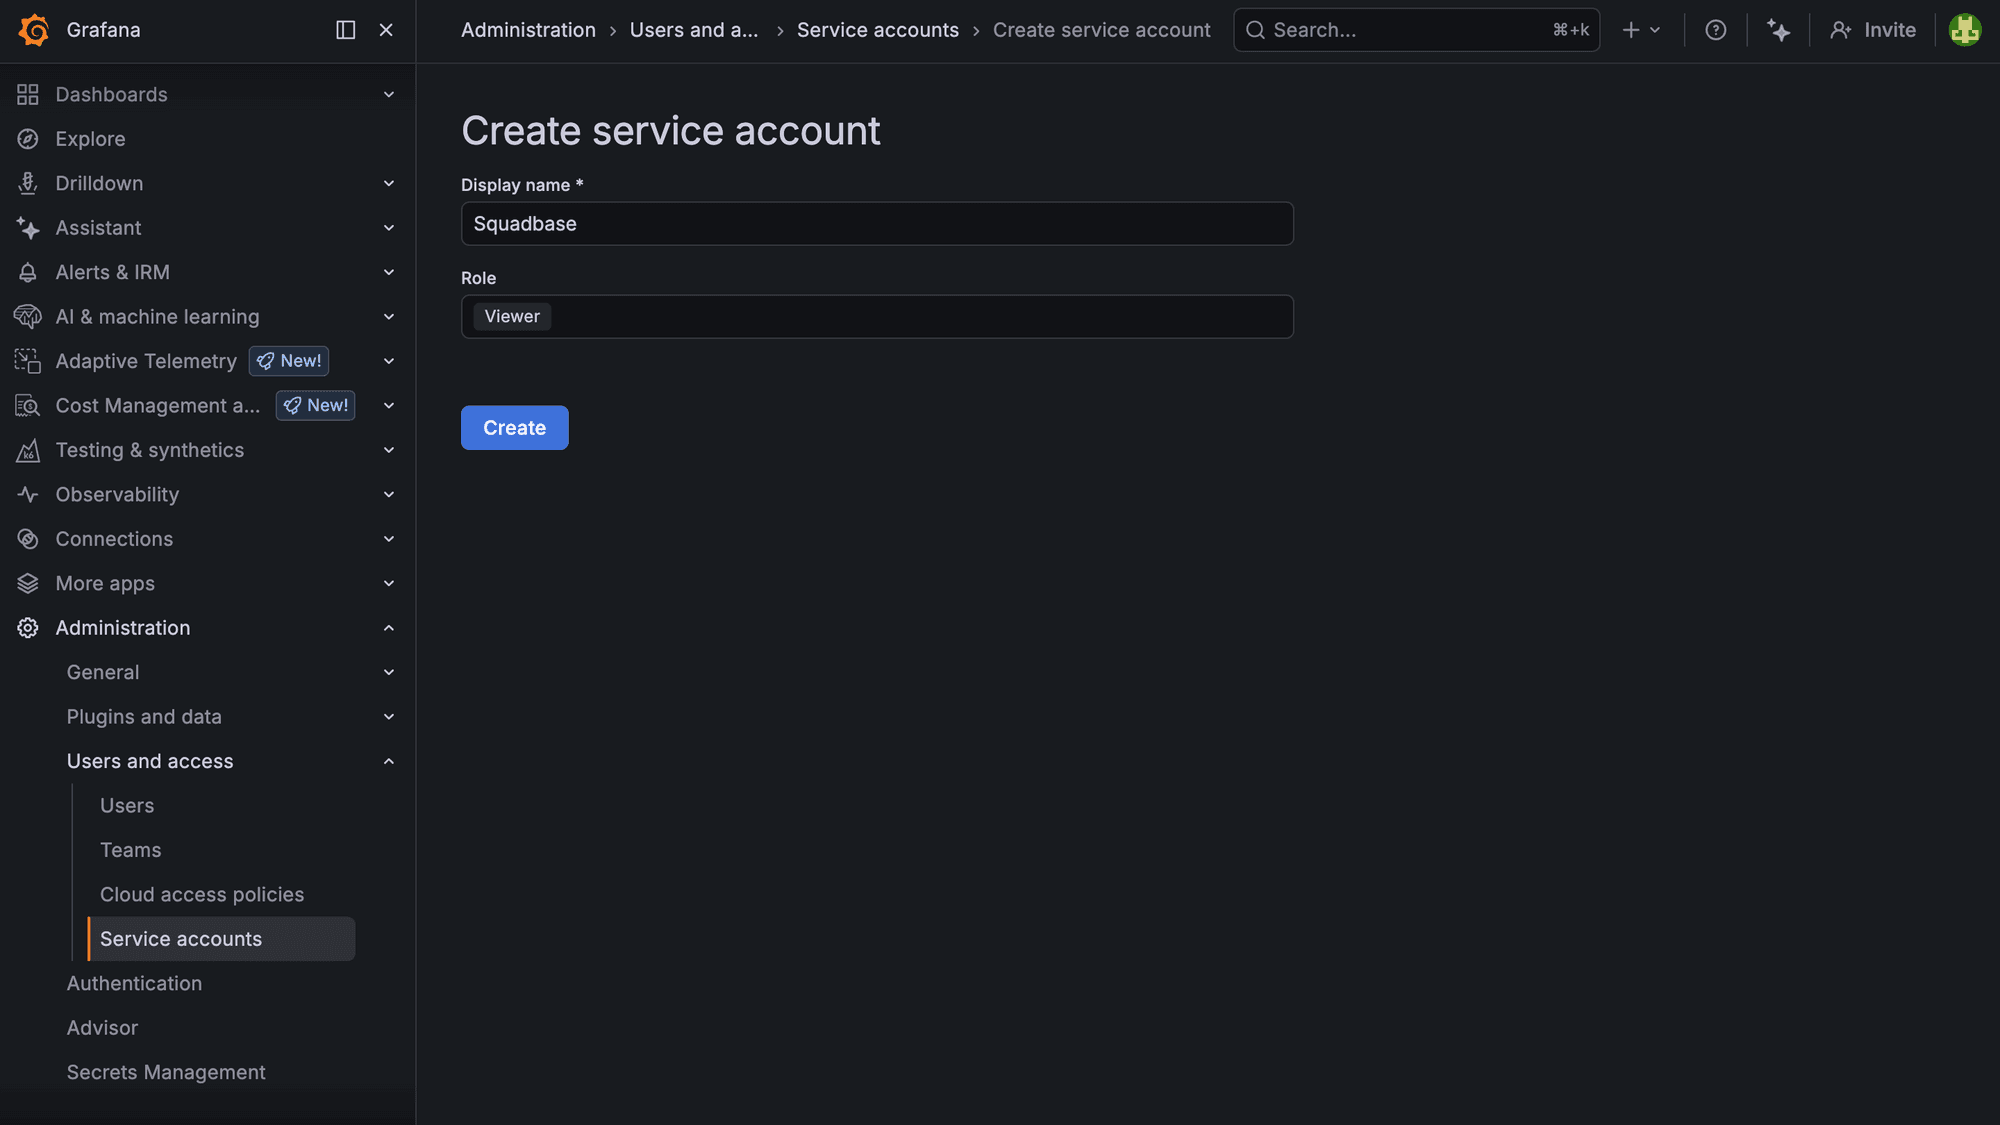
Create a Service Account
Click Add service account. Enter a display name (e.g., Squadbase) and set the role to Viewer for read-only access.
Click Create.
Generate a Token
On the service account detail page, click Add service account token.
Enter a token name (e.g., Squadbase) and optionally set an expiration date.
Click Generate token.
Copy the Token
Copy the generated token immediately — it will not be shown again after you close the dialog.
The token is only shown once at creation. Make sure to copy it before closing the dialog.