Environments
Managing deployment environments in Squadbase
Environments let you manage separate runtime configurations for your projects. By creating and managing multiple environments, you can develop and deploy safely.
- Default environment: Automatically created when a project is set up
- Multiple Environments: Create additional environments as needed for different purposes
- Per-environment settings: Manage domains, environment variables, and deployment configurations independently
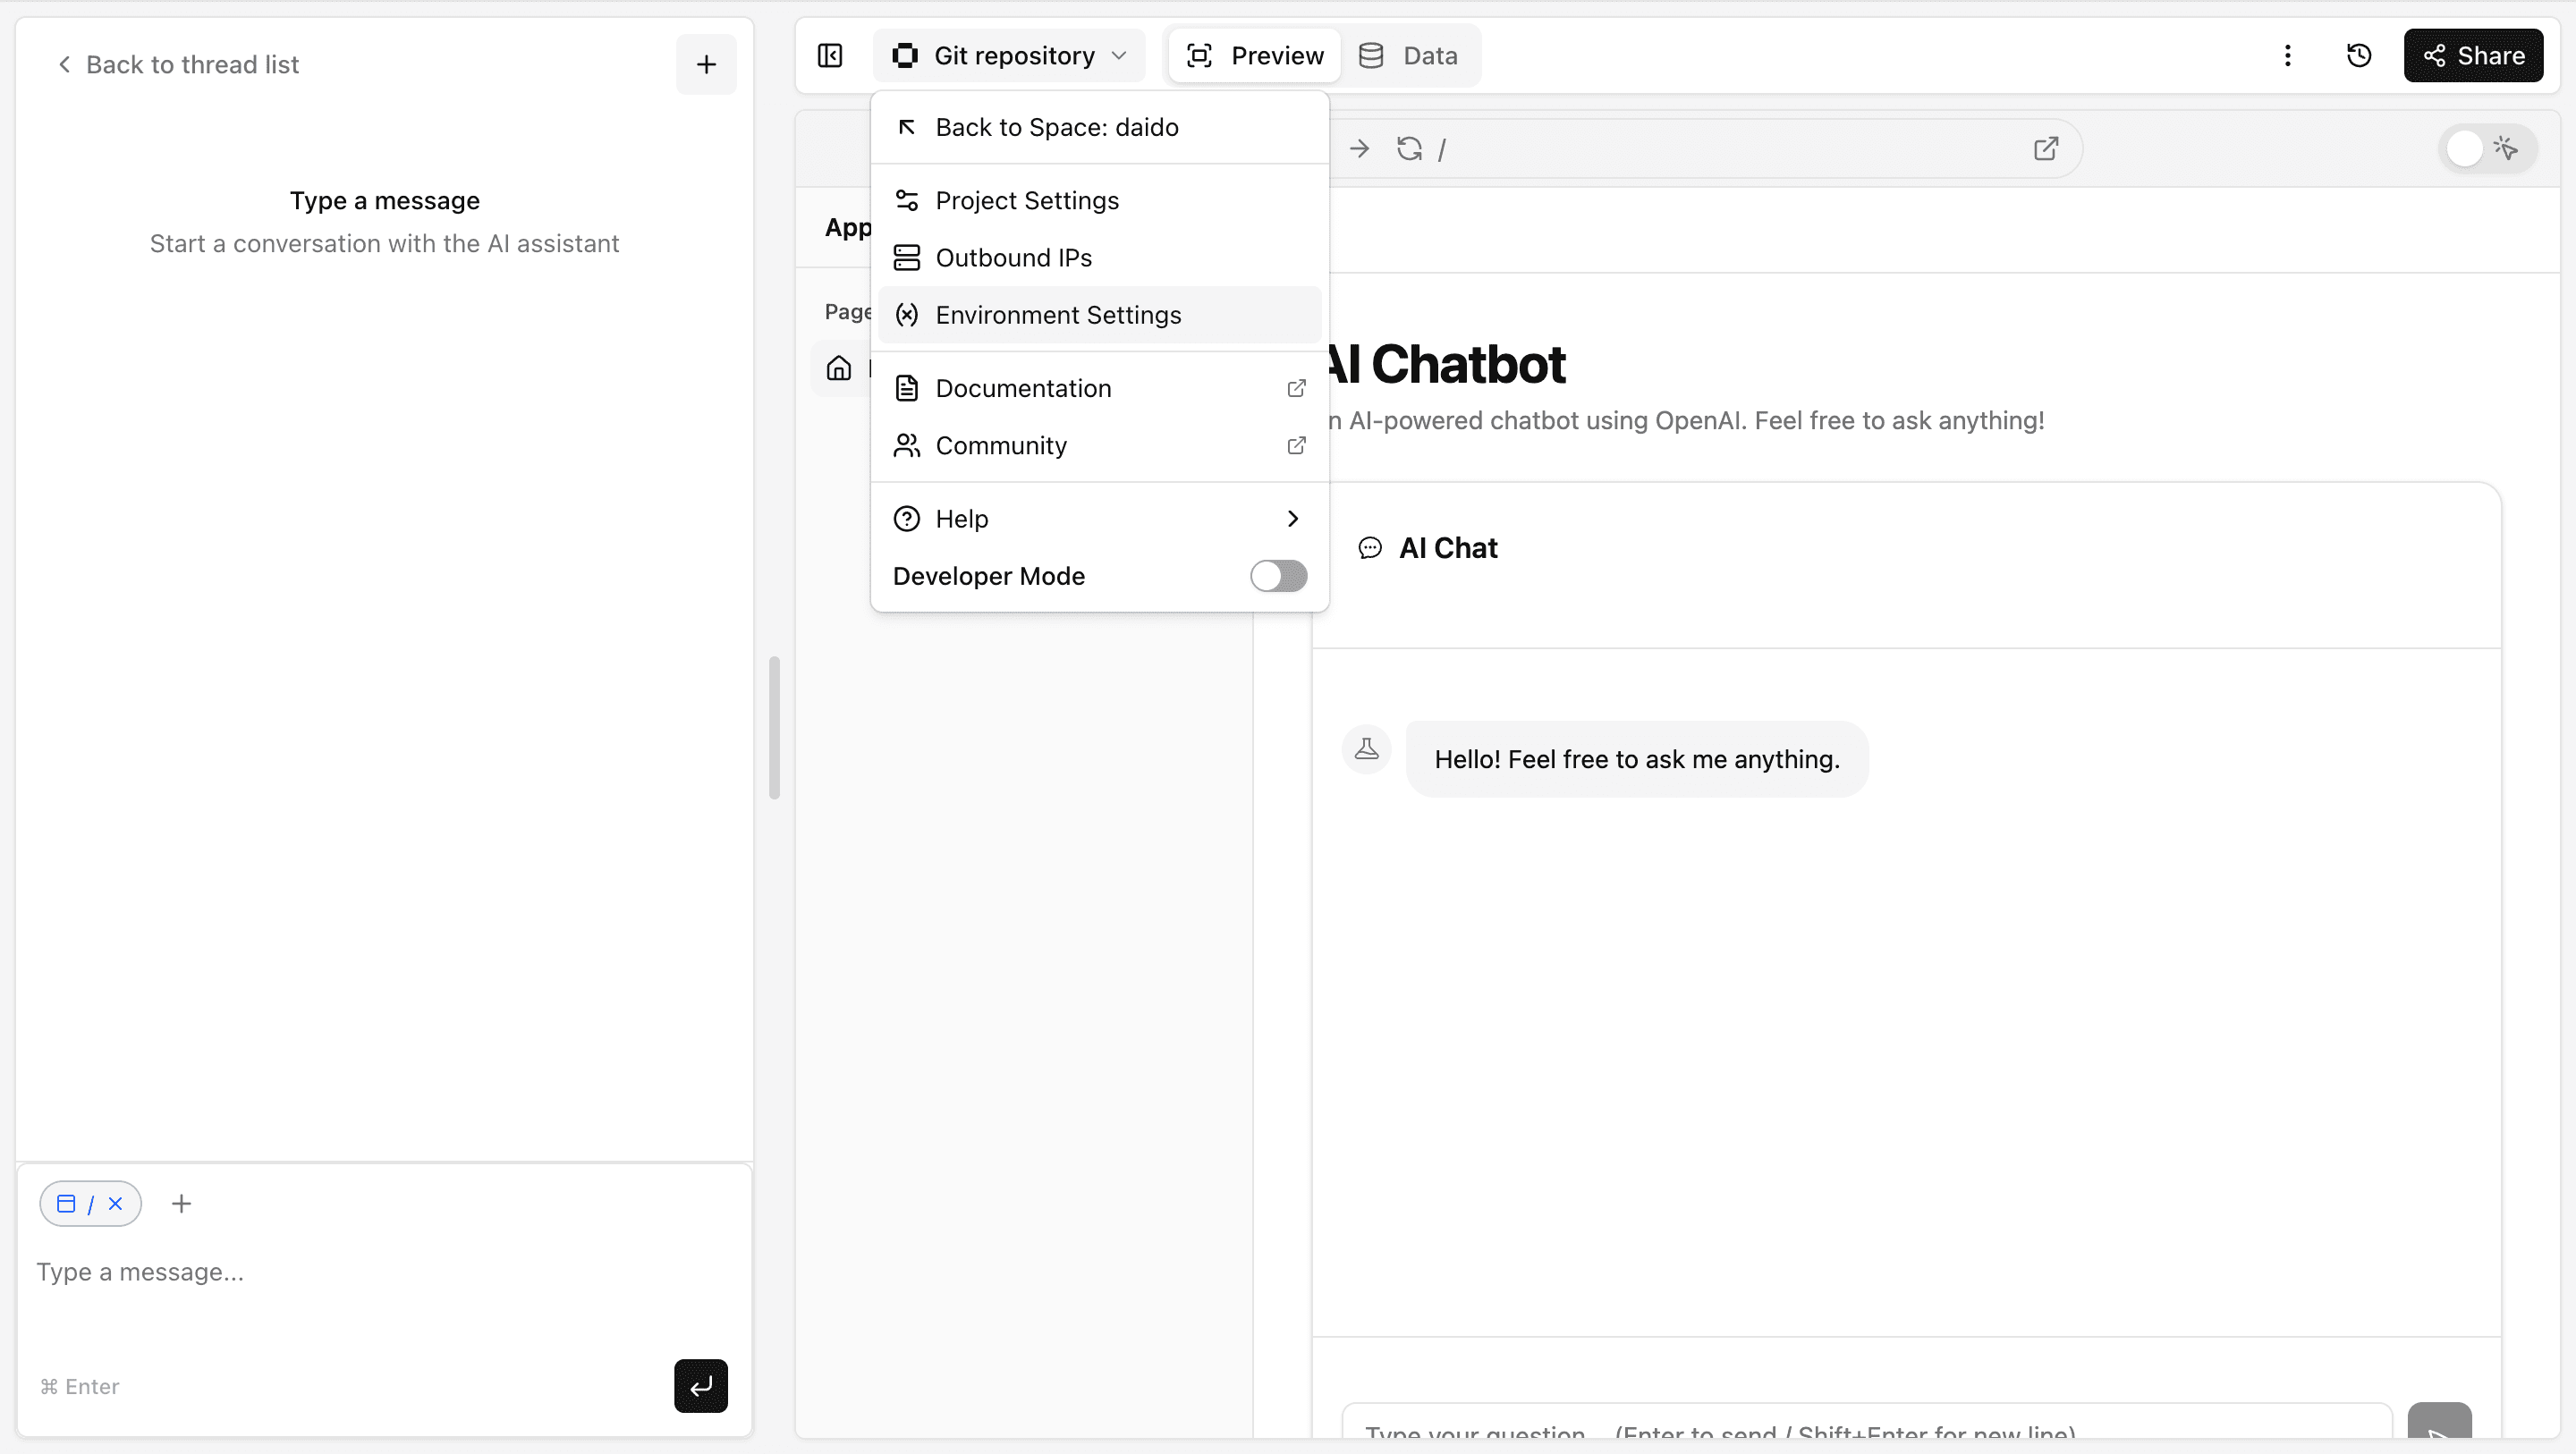
Environment management is only available when a GitHub repository is connected. There are two ways to connect a GitHub repository:
- Select "Import from GitHub repository" when creating a project
- Connect via "GitHub Repository" under Project Settings in the editor
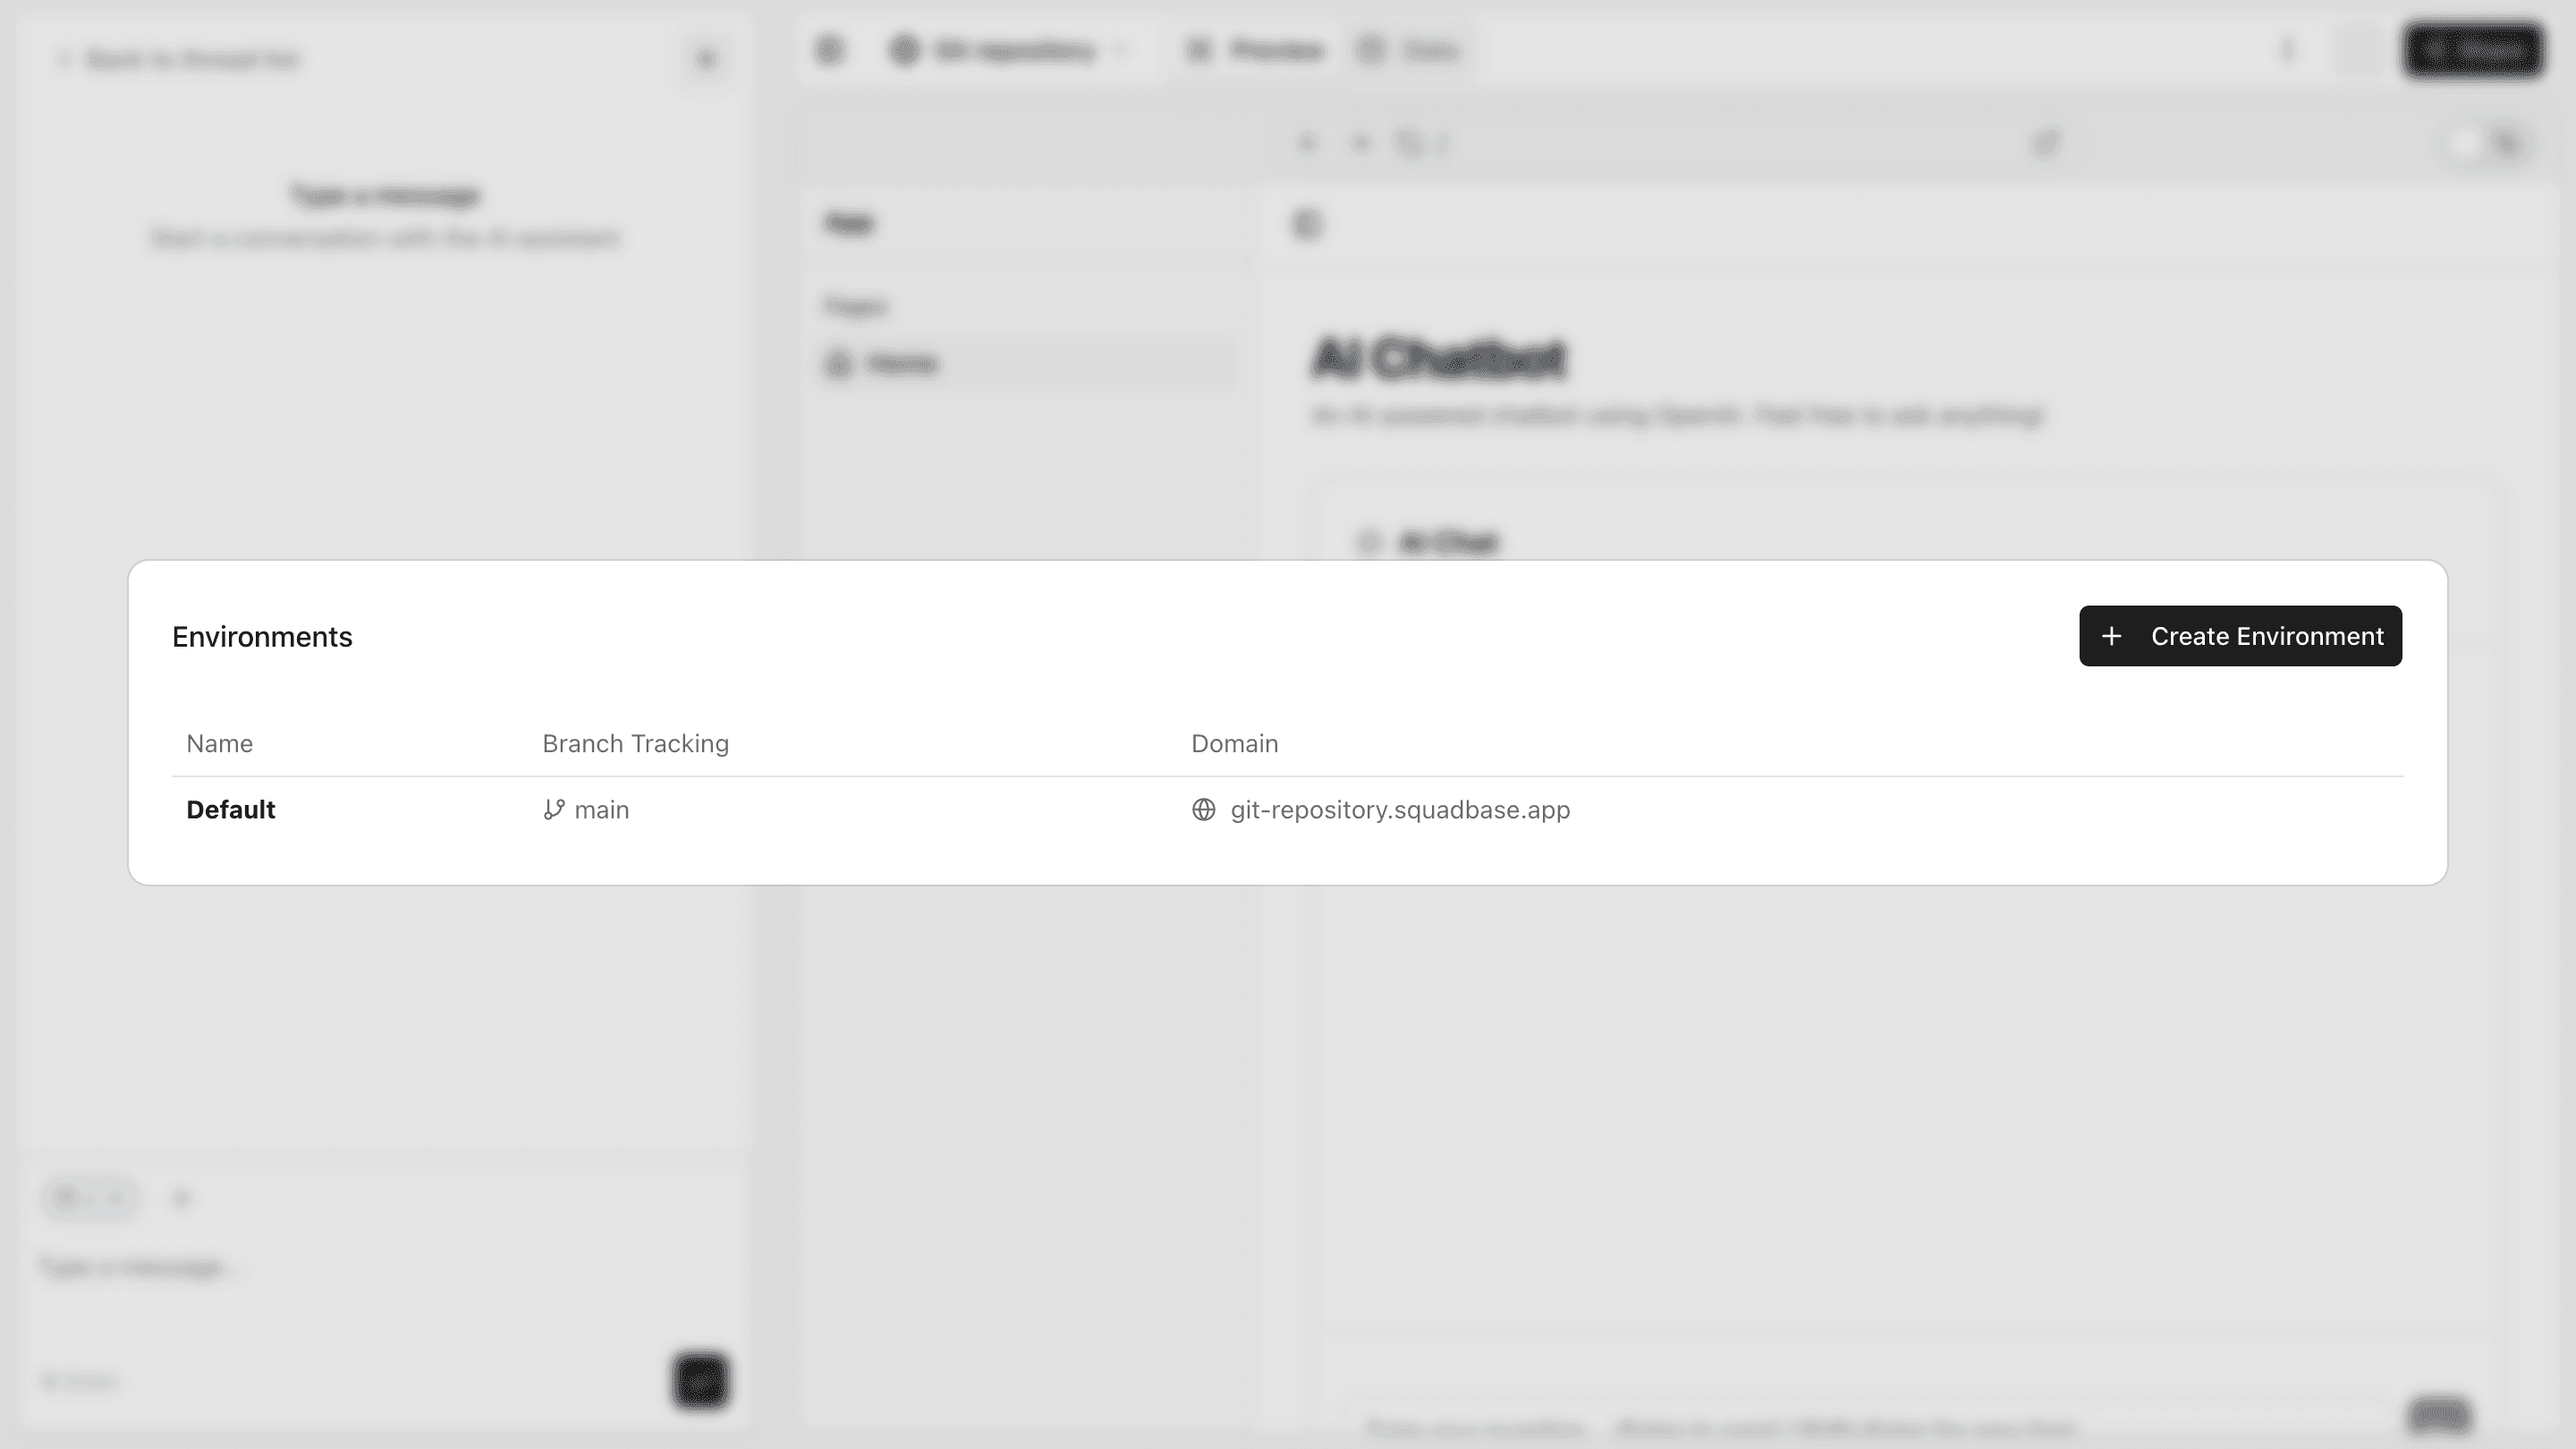
Default Environment
A Default environment is automatically created when a project is set up.
- Name and description cannot be modified
- Cannot be deleted
- Branch tracking settings can be customized
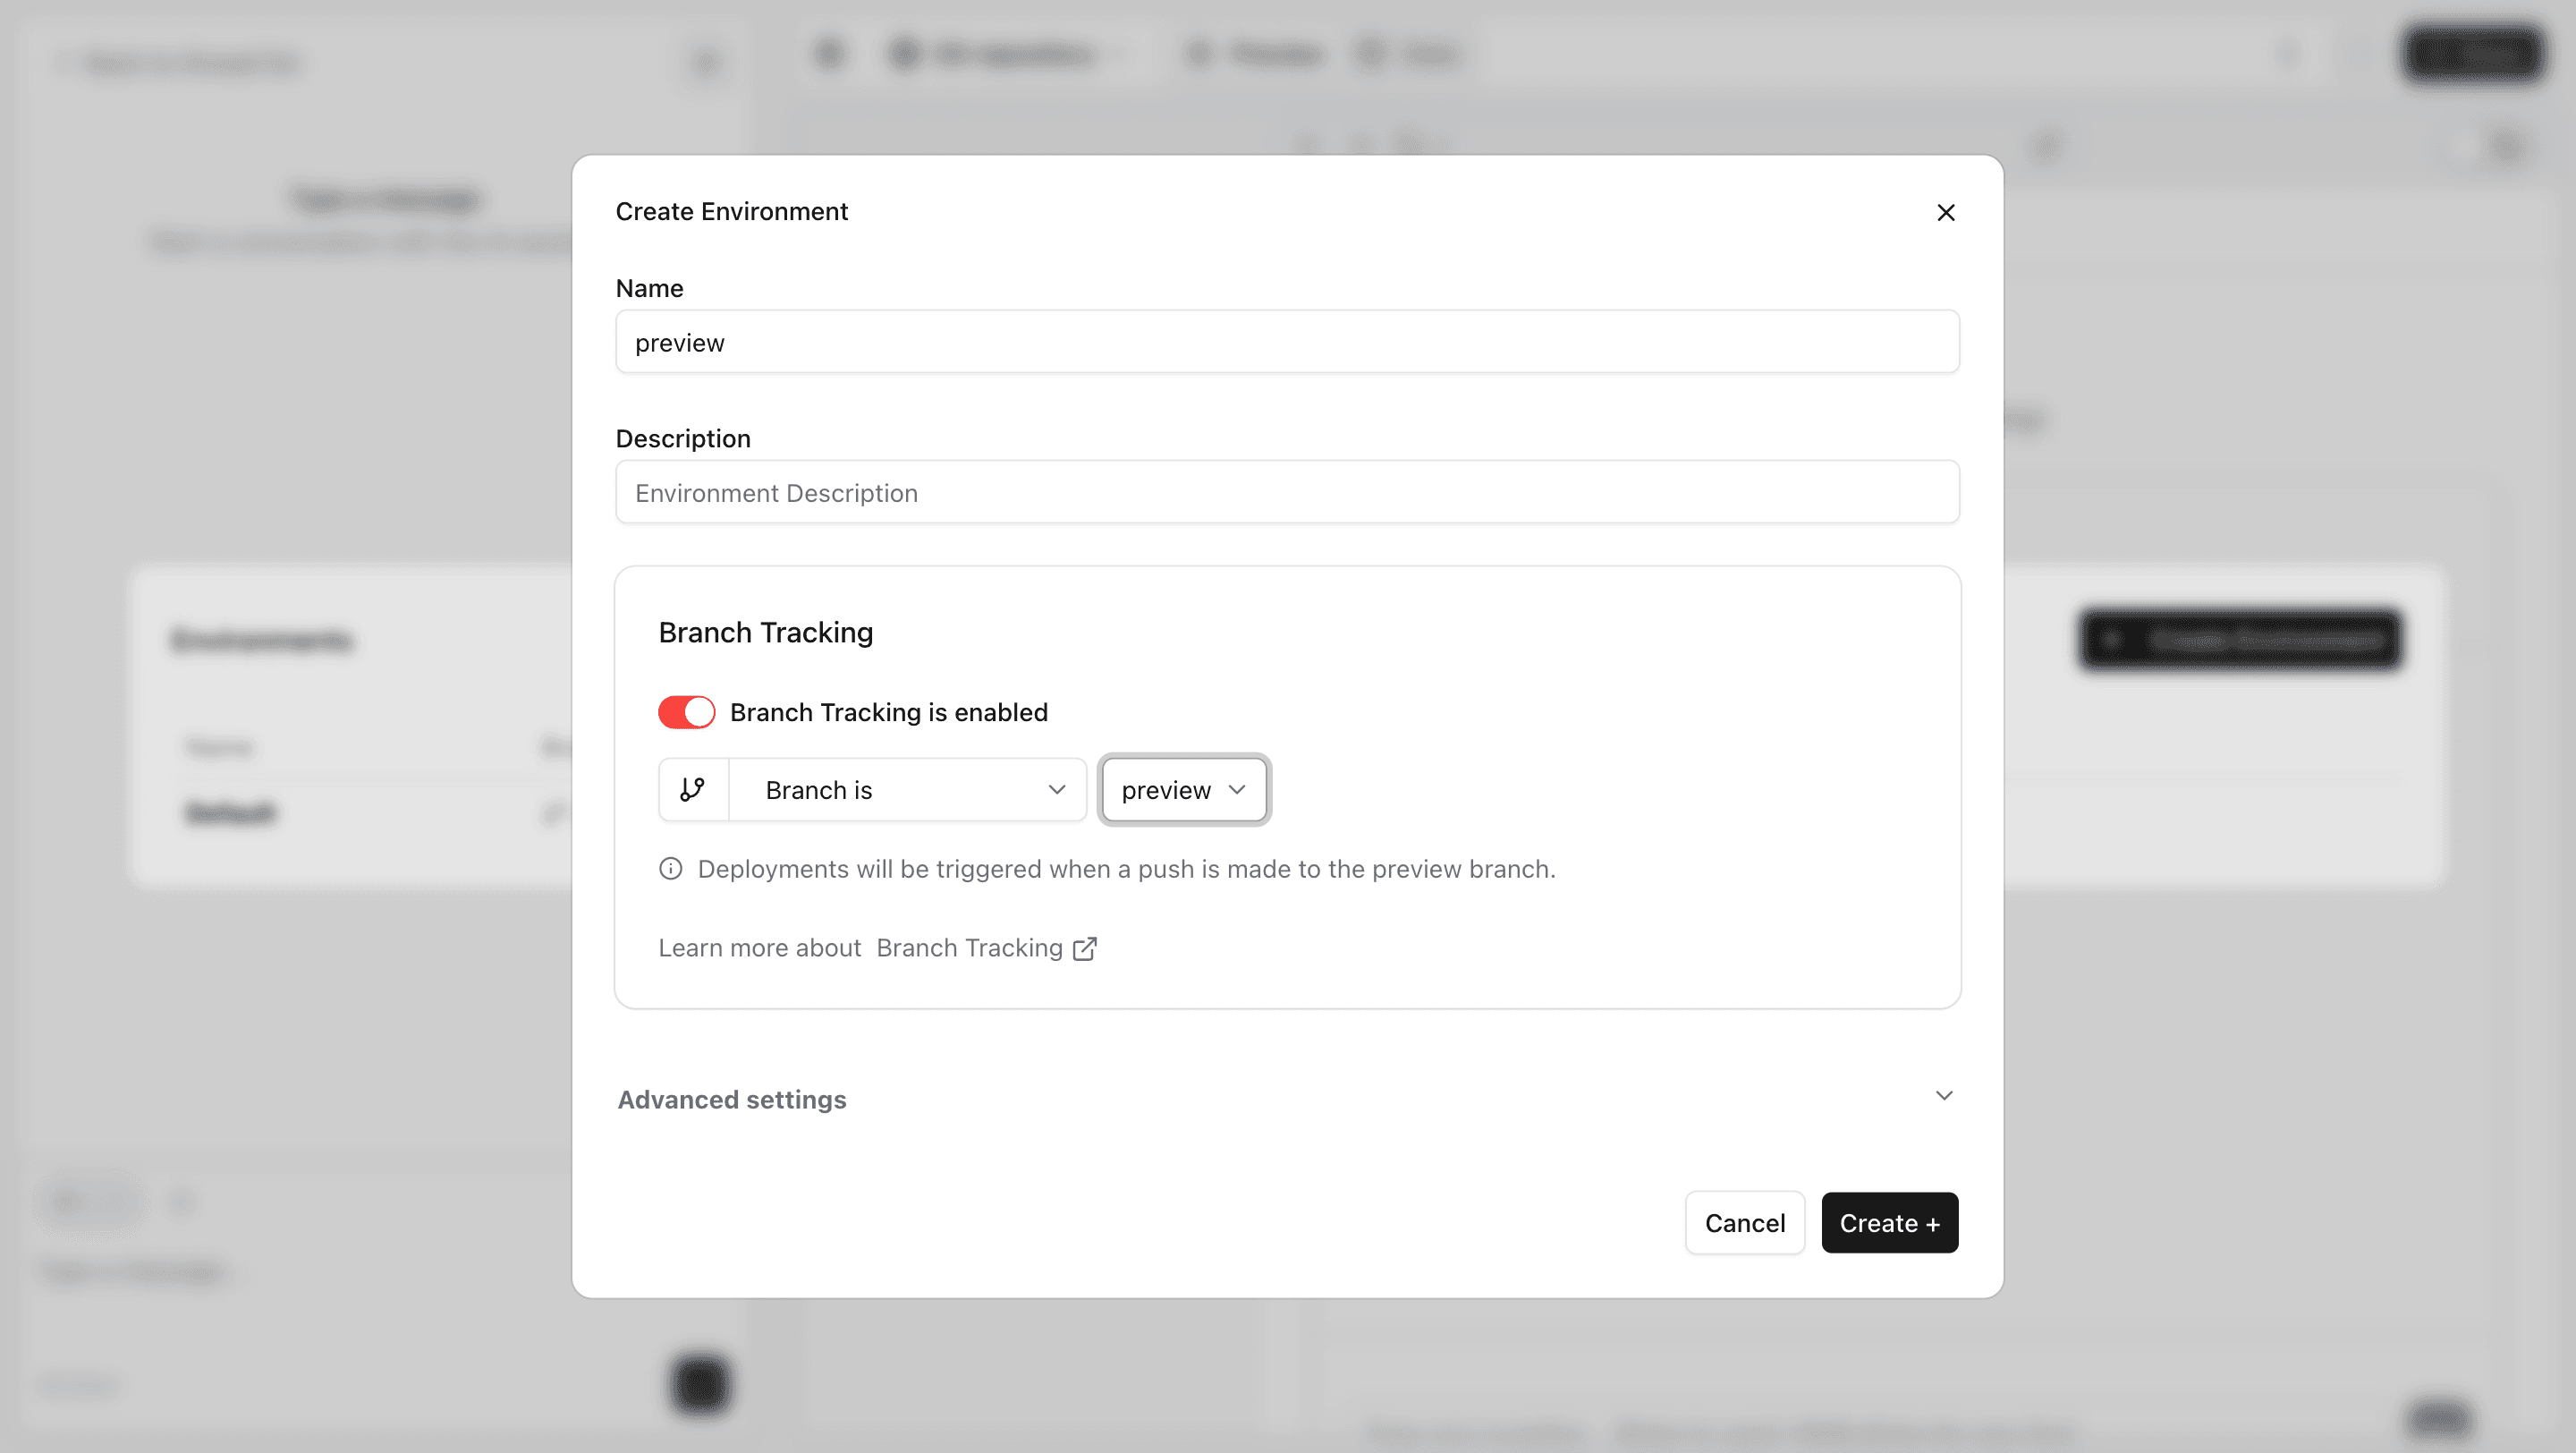
Multiple Environments
Enter an environment name and select a branch
Enable branch tracking to automatically trigger deployments when pushing to the selected branch. Specify the target branch from the dropdown.
Per-Environment Settings
Domain Settings
Configure a custom domain for each environment.
Edit the subdomain portion of https://[subdomain].squadbase.app and click "Save". Subdomains must be at least 3 characters, use only alphanumeric characters and hyphens, and cannot start or end with a hyphen.
Deployment Settings
Auto-generated settings are used by default and work well for most cases.
If customization is needed, the following options are available:
| Setting | Description |
|---|---|
| Framework | Framework in use (e.g., Django, Next.js) |
| Provider | Deployment provider (e.g., AWS) |
| Runtime | Execution environment (Python version, etc.) |
| Package Manager | Package manager (e.g., uv, npm) |
| Entrypoint | Application entrypoint |
| Dockerfile Path | Path to Dockerfile |
| Build Context | Build context path |
| Build Arguments | Build arguments (JSON format) |
| Memory | Configured in MB |
| Timeout | Configured in seconds |
| Provisioned Concurrency | Pre-allocate concurrent executions to reduce latency |
| Ephemeral Storage | Configured in MB |
Tips & FAQ
Q: Can I still deploy manually after enabling branch tracking?
A: Yes, manual deployments remain available even with branch tracking enabled.
Q: How should I configure memory and timeout settings?
A: Start with the default auto-generated settings. Adjust only if you encounter memory errors or timeouts.
Q: What are Outbound IPs used for?
A: When connecting to external databases or APIs, you may need to allowlist these IP addresses in your firewall. Find them under Settings > Overview.